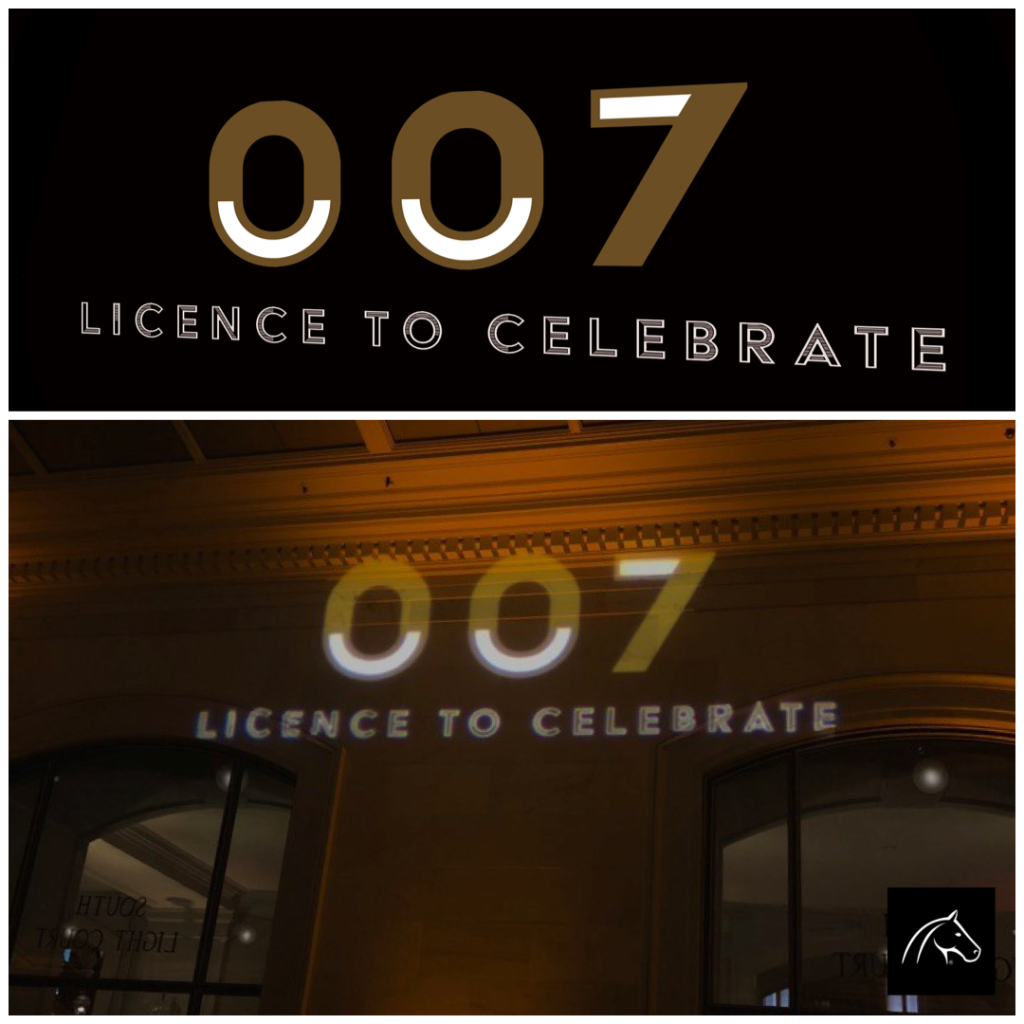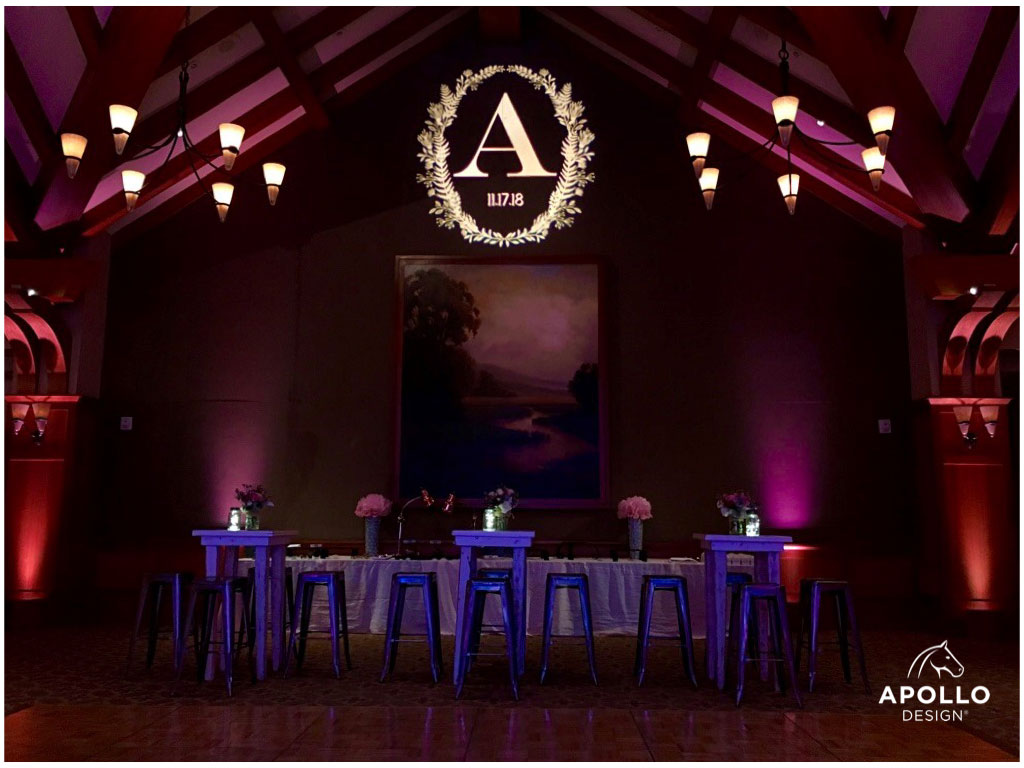
In July 2018, Apollo released a video about Keystoning Apollo Gobos using our new and improved keystone method, and how it saves time and money.
Apollo used to keystone gobos by hand. We’ve now automated the system. What used to take 2-4 hours now takes about 2 minutes. Sales of Apollo Keystoned Gobos in 2019 would have taken 681 hours using the manual method. It took less than 8 hours with our automated system.
Bill Harrison reveals the secrets behind the new method:
I just heard that we did 200+ Keystone jobs in 2019. It feels like it was yesterday, but it is over three years ago that we were asked to do keystone corrections for Apollo. We’re the IT department. We didn’t come from lighting backgrounds, so our first stop was some online searching. It seemed that most of what we were finding either referenced digital projectors or pointed to this formula:
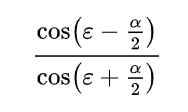
The formula empowered us to approach the project mathematically. First, we defined Keystoning; then, we spent considerable time at the whiteboard trying to express the effect and how to counter it using geometry and trigonometry.
And you thought you’d never use that stuff after graduation.
Keystoning Context
When you project an image on a plane that is directly in front of the fixture, you get a nice, evenly proportioned image.
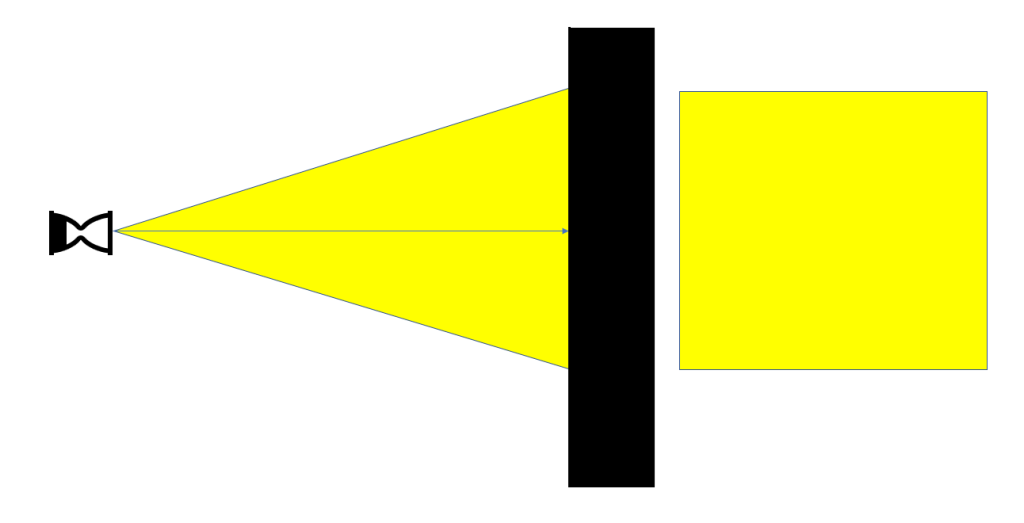
When you angle your projection, the resulting image gets skewed. The part of the projection that is farther away gets larger. The name of this process comes from the keystone shape.
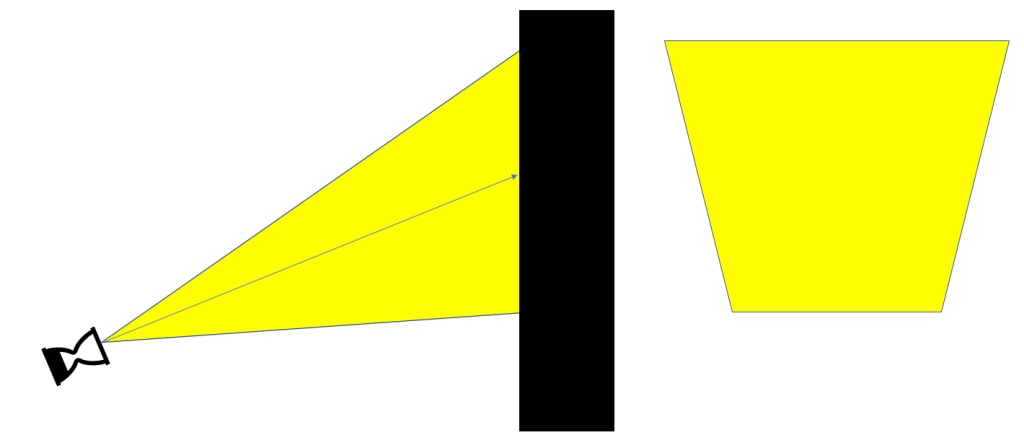
From the images above, you can already see the triangles emerging. It also adds some clarity to that original formula we found. The pieces were dropping into place. To counter the distortion created by the offset angle of the projection, we skewed the image at the same rate in the opposite direction.
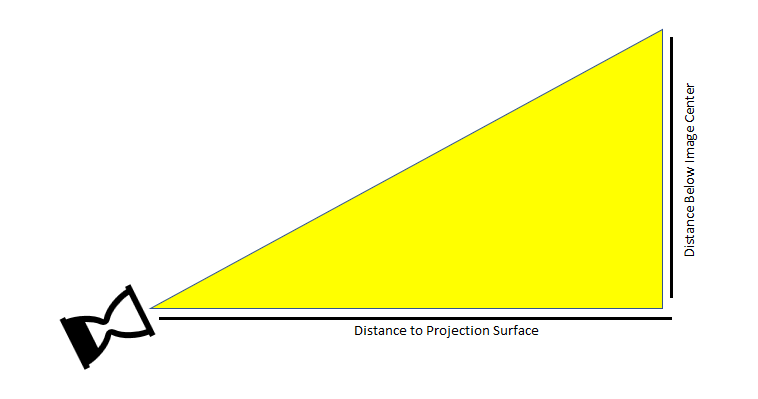
As you can see, the two distances we ask for helps us to create a triangle. Pythagoras gives us the length of the hypotenuse, and Chief SohCahToa delivers the angles. So how do we determine the magnitude of the distortion? It all goes back to triangles again. First, the Cosine of the adjacent side over the hypotenuse tells us the angle that the fixture is tilted up. We’ll need that.
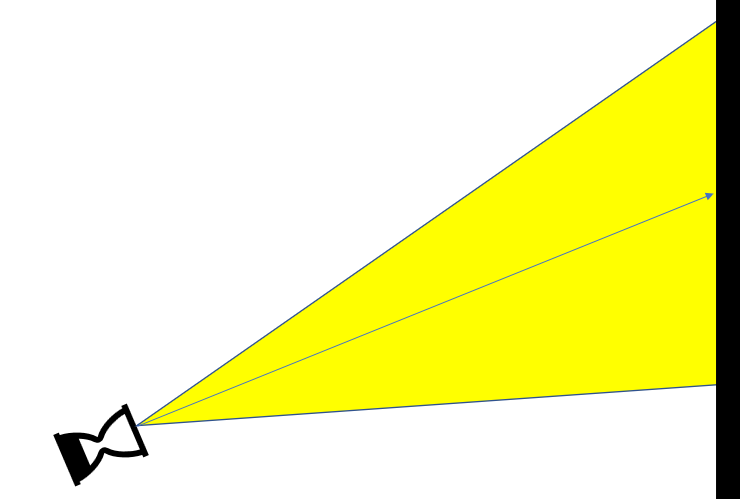
We started here. We need the measurements of the line representing the top of the projection and the line representing the bottom of the projection. Using the angle of the fixture that we determined above, we now take the angle of the lens and divide it by two. This measurement is not 100% accurate because the distortion does not occur evenly across the projection image, but it is usually pretty close.
We add that half of the lens to the angle of the fixture. We work backward using the adjacent side that we know — it is still the distance to the projection surface — and the angle we just calculated. Now we can figure out the length of the line representing the top of the projection.
Getting the length of line representing the bottom of the projection is the same except in the case we subtract half of the lens angle from the fixture angle. In the end, the ratio of those two lines should be roughly the same at the top and bottom of our projected image.
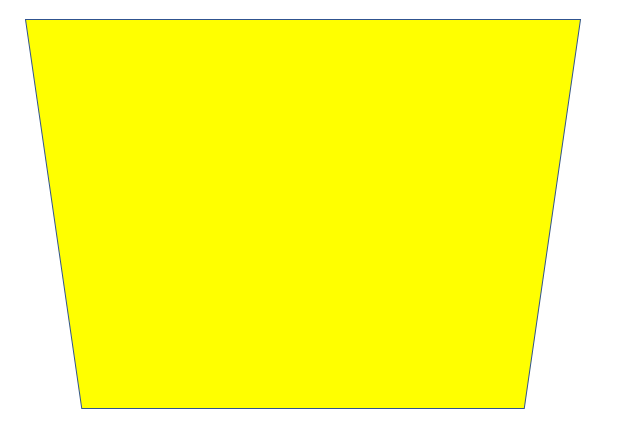
To correct this, we apply distortion to the image at the same rate but in the opposite direction. We need to reduce the top of the image so that the expansion negates the effect.
There are limitations. The closer you can keep your projection to level and the smaller the lens makes for better results. When things get too extreme, you start to lose light quality and image quality. In the example below, you can see how the offset angle affects the underlying image.
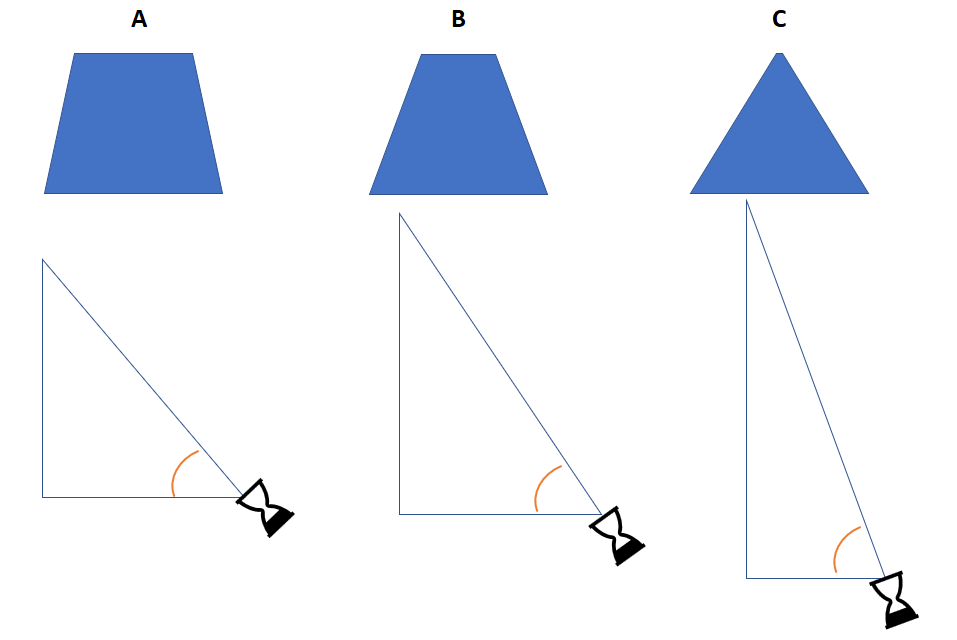
I’m certain you will recognize how the image quality of Example C would be compromised. The image detail would drop off significantly from the near end to the far end.
The method described above addresses most Keystone scenarios where the projection is above or below or left or right. What about when an image is being projected up and right (see first two images below)? This scenario is where many people succumb to cognitive bias.
Referencing the image below, if ABOVE looks like A, and RIGHT looks like B, then the ABOVE RIGHT should look like both images combined, or C. Well, it doesn’t. ABOVE RIGHT really looks like D.

The process is fundamentally the same, but we need more information and derive our measurements a little differently. When we add a third dimension, the concepts of distance to the projection surface and distance below the image center shift; fortunately, it is still triangles and geometry.
Here we have a projection where the fixture is below and left of the image center. Do you see the triangle we’re going to use?
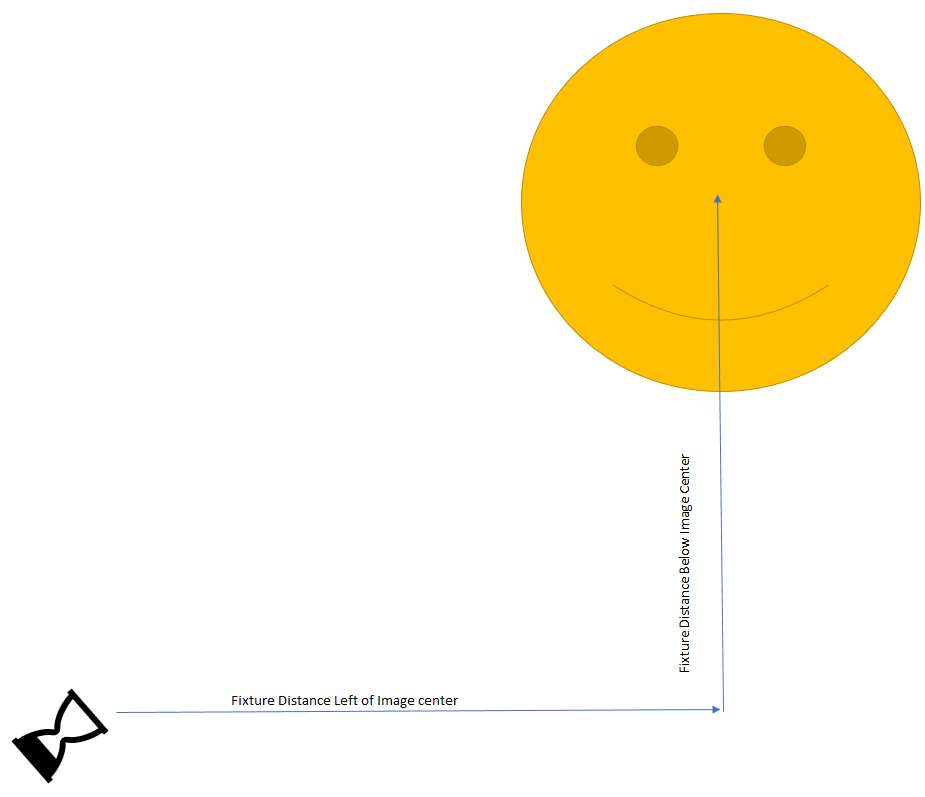
We use the Pythagorean equation to calculate the hypotenuse, which is our distance to the image center.
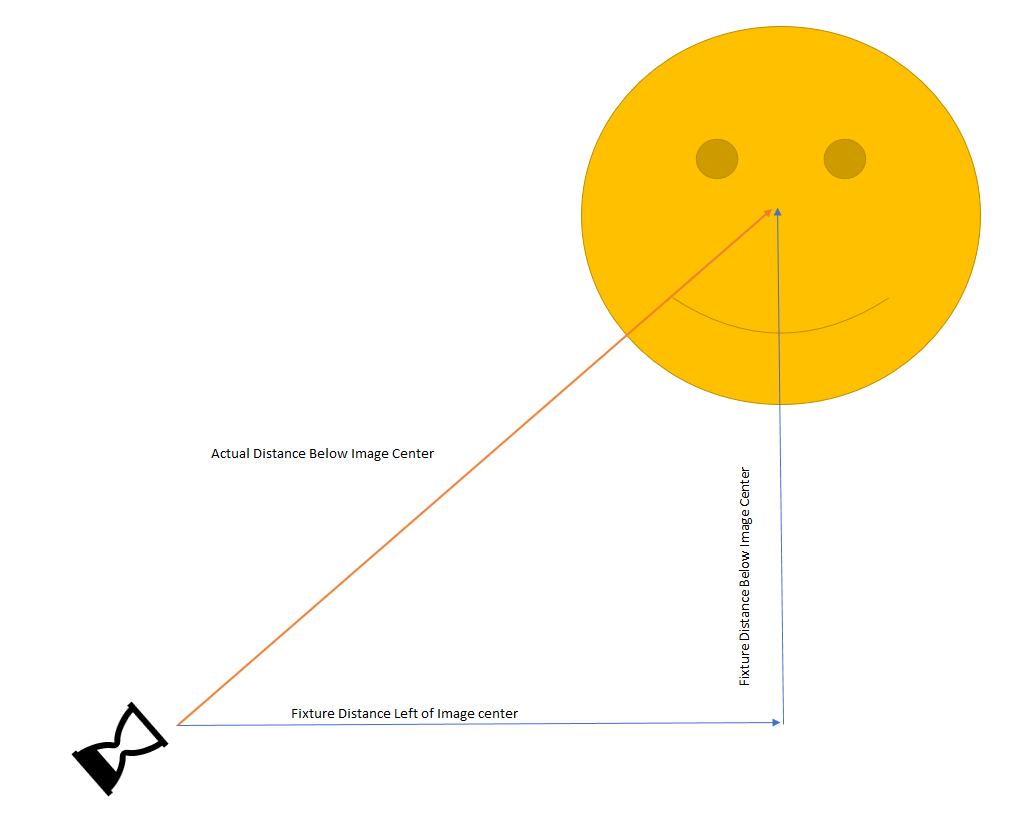
We need to keystone based on the distance to the projection surface and our newly calculated distance to the image center, but there is a complication. If we did just that, our resulting projection would be keystoned like this.
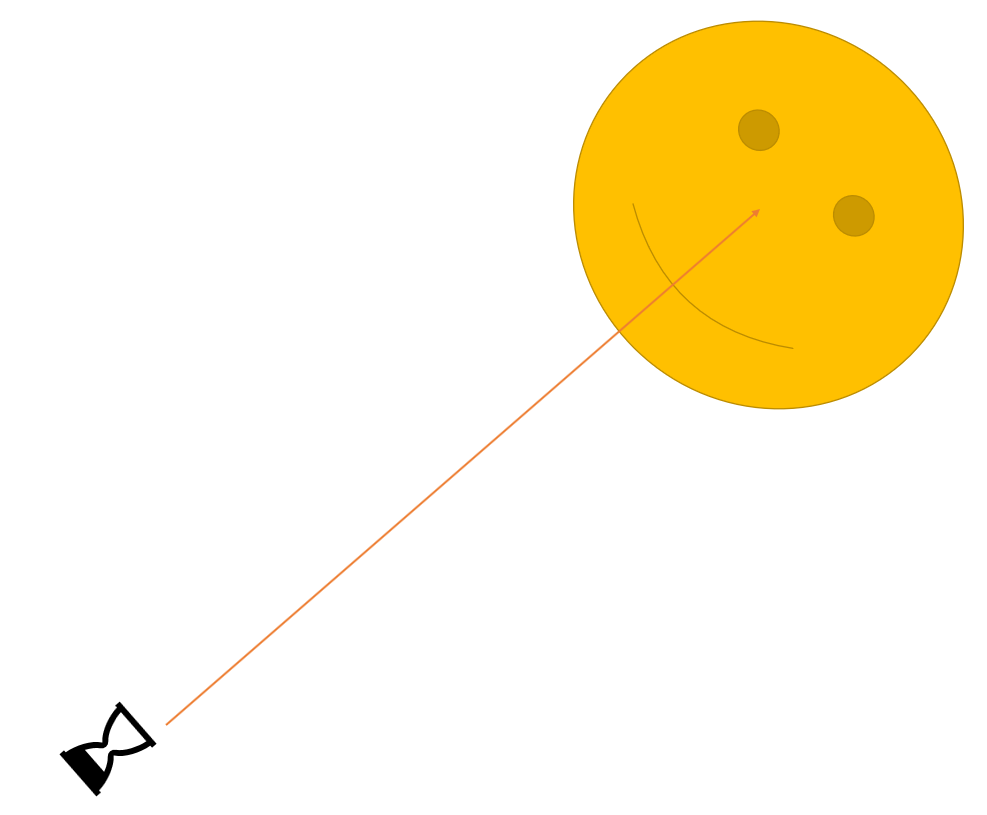
We want the face to appear upright. The image is rotated prior to Keystoning. How much? This image makes it pretty obvious.
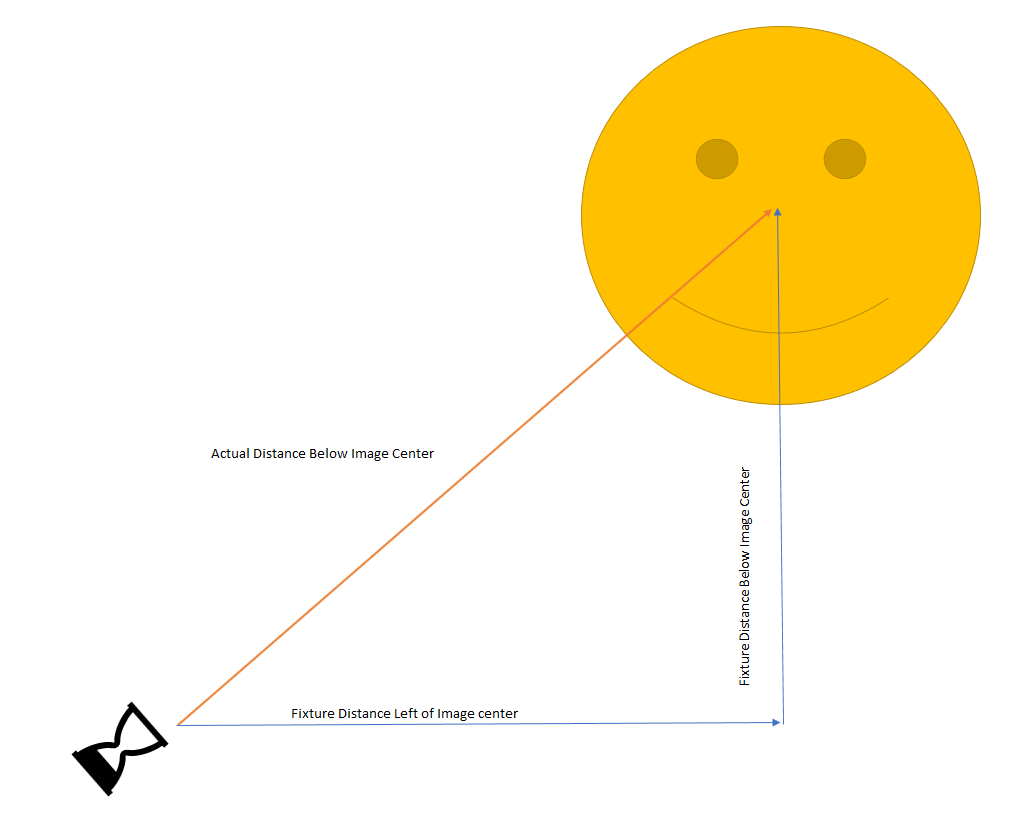
The number of degrees of rotation equals the number of degrees in the angle of that triangle.
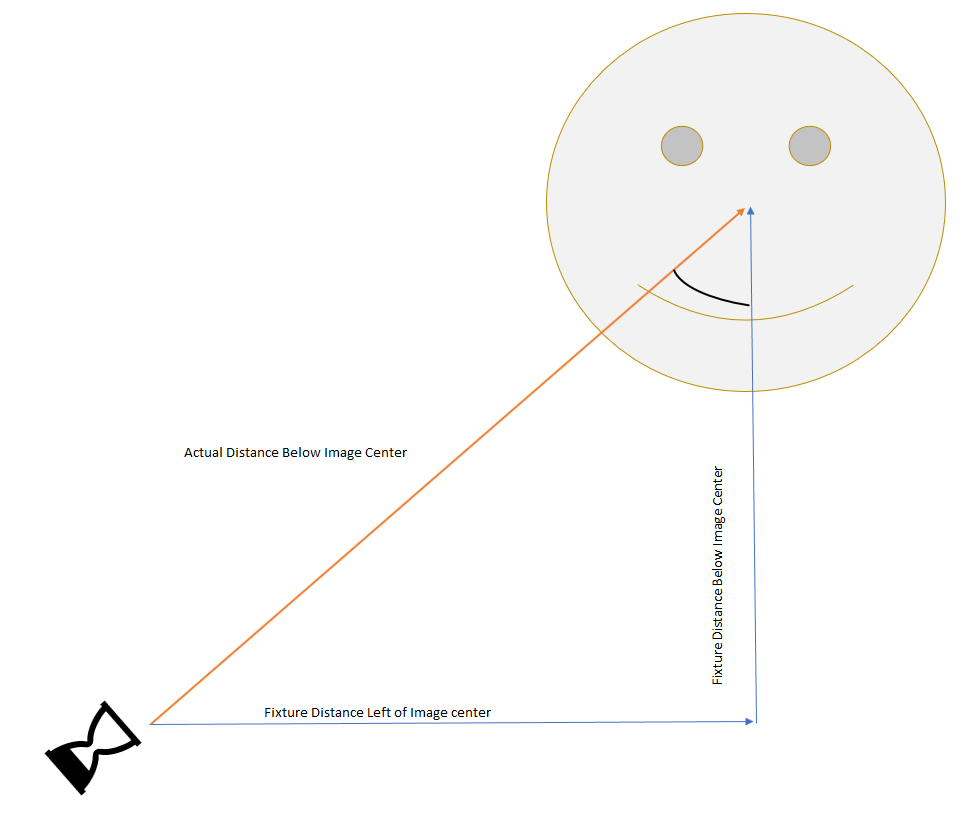
The next step for us was to compile each formula used in an application that automates the process. We put in the measurements provided by the client, and the system generates the modifications for the artwork.
Apart from Keystoning, we created some tools to help us in projection sizing. We often get requests to have an image or logo fit into a specified height or width. This calculation is easy when the source image uses the entire image area. Numerous resources that will tell you how large the projection will be for a given lens at a given distance. You can see the triangles we use. The degree of the lens and distance to the projection surface help calculate the Projection Diameter.
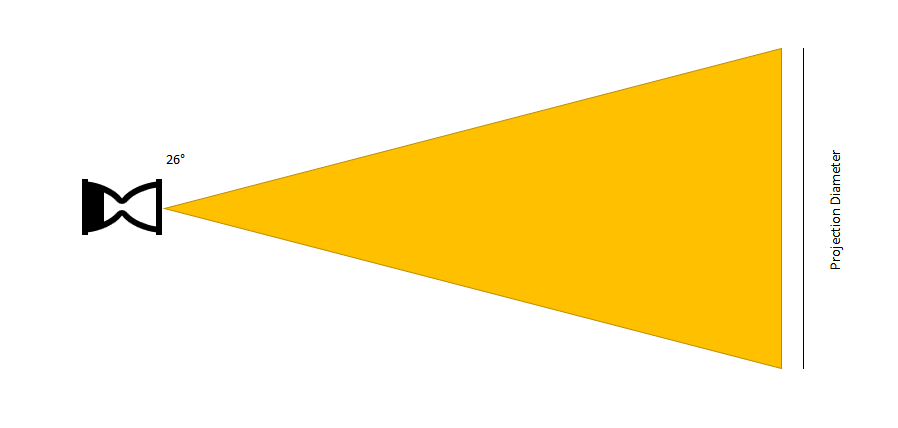
For this example, let’s use a 26° lens and project to a surface 18 feet away. We use the triangle in the image above to calculate the diameter of a projected circle, which is about 8 feet.
Often the artwork is square or rectangular. How big can a square be in a circular projection?
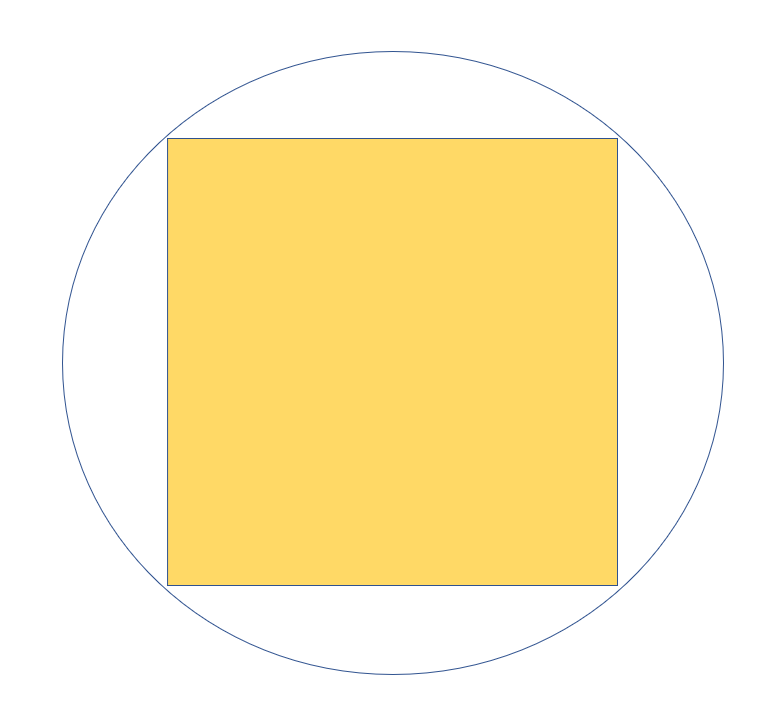
To find out, we need to once again turn to our friend the triangle. First, what do we know? We know that all four sides of a square are equal. We know that each corner of the square is 90°. We also know that the diameter of a circle is a line that passes through the center of the circle as it cuts it in half. The diameter not only cuts the circle in half, but it also cuts the square in half, corner to corner. What do you get when you cut a square in half like this?
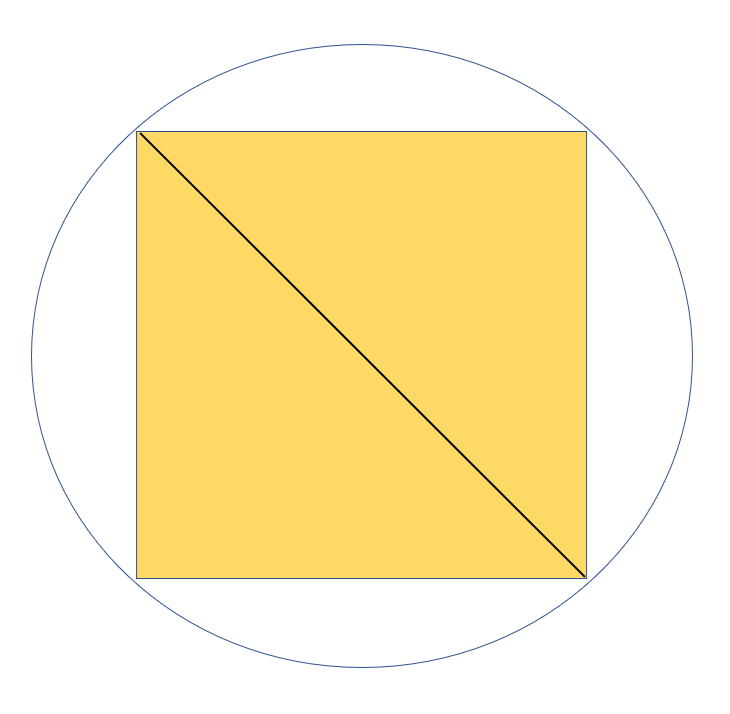
That’s right! Triangles. Not just triangles but right triangles that are also isosceles triangles. We know from our example above that the diameter is 8 feet long (the black line in the image above). We have a right triangle that has a hypotenuse that is 8 feet long, and the angles are 45°, 45°, and 90°. Working from that, we can then calculate that each side of the square is roughly 5.7 feet.
I hope you enjoyed this discussion. There will be a quiz on Friday!
Special thanks to Kier LaCrosse of Allegra Entertainment and Events for submitting photographs of Apollo Keystoned Gobos in use.
